


Setting up a recording studio in your home has never been easier and more affordable. PreSonus® offers everything you need to record, mix, produce, and master your music in your spare bedroom. This guide will go over the basics of what you need to get started.
Selecting Your PC
 The first thing that you must have to set up a recording studio is a computer. This can be a Mac® or Windows® PC, so you can continue to use whichever operating system with which you’re most comfortable. The first thing you’ll need to check is the system requirements for the recording software you’d like to use. If you are purchasing a PreSonus audio interface, Studio One® Artist is included for free with your hardware (more on that in a minute). Keep in mind that the “minimum system requirements" published by any accessory hardware or software manufacturer are just that: The bare minimum computer specs that you need to get the bare minimum level of performance.
The better your computer specs are, the better your performance will be. So, keep that in mind when configuring your PC. For example, if you are planning on recording eight or more audio tracks simultaneously at 96 kHz, you will need a more powerful machine than you would if you are recording one track at time at 44.1 kHz. The same goes for mixing and production. If you will be producing multi-layered EDM albums with dozens of tracks triggering virtual instruments and samples, your computer will need more horse power than if you are just using your computer to record your vocals and guitar only.
The last thing to consider is the transport protocol your audio interface requires. This is the method of communication your audio interface uses to transfer audio to and from your computer. The most popular protocols currently in use are USB 2.0, USB 3.0, USB C, and Thunderbolt. While there are still FireWire products in production, you will find that these are generally compatible with Thunderbolt. If you’re just getting started, PreSonus recommends that you select a newer protocol to provide you with the most longevity from your investment.
Selecting Your Audio Interface
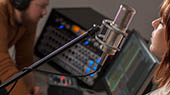
 An audio interface is an essential component to any modern recording studio. Its main function is to convert analog audio to digital audio and vice versa, so you can record to and play back from a computer. But more than just the converter that translates what you are hearing into information your computer can understand, an audio interface is the central hub around which your studio in connected. Your audio interface may also include any or all of the following: a MIDI interface, microphone preamps, instrument preamps, onboard monitoring functions, and even onboard plug-in processing, to name just a few of the features available to modern recordists.
PreSonus makes a wide range of audio interfaces that are designed to suit just about any use case you may have. These interfaces range from small compact devices like the AudioBox USB 96 to a professional 64-channel mixer with integrated recording and DAW control like the StudioLive 64S. Let’s go through some of those options and why you would select one over the other depending on how you’d like to record in your studio.
Simultaneous I/O
The first thing you need to decide is how many channels you need to record and playback at the same time as well as how you’d like to connect up your equipment. For example, even if you’ll only be recording a couple channels at a time, do you have a lot of synthesizers or outboard gear you’d like to leave connected all the time? If so, you may want to select an audio interface that will allow you to plug everything in so you have access to it whenever you want. This will cost a little more up front, but it will save you hours of lost productivity down the road, so it may be worth spending an extra $100 and getting a few more inputs.
Input Types

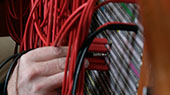
Most audio interfaces will provide you with enough of an assortment of input types that you will be able to connect any type of equipment you like, but you’ll want to make sure that it has enough of everything you need. Here is a quick tutorial:
- Microphone Preamps. For the most part, XLR input connectors are used for microphone preamps. Usually, they can accept both dynamic and condenser microphones. Some XLR inputs are switchable between mic and line level signals. If this is the case, you will not need a direct box to connect a line-level source. The higher the quality of microphone preamp, the less likely it is that you’ll need to invest in an external preamp. Nearly every PreSonus audio interface uses the XMAX microphone preamplifier. The XMAX design provides a Class A input buffer, followed by a dual-servo gain stage. This arrangement results in ultra-low noise and wide gain control, allowing you to boost signals without increasing background noise.
- ¼” TRS Line Inputs. TRS, or Tip-Ring-Sleeve, line inputs are balanced connections used for line level devices like synthesizers, outboard processors, and external microphone preamps and channel strips, such as the PreSonus Studio Channel.
- Instrument Inputs. Instrument inputs allow you to connect guitars and basses directly to your audio interface without the need of a direct box.
Monitoring and Latency
How you listen to yourself while you record is critical to getting a good performance. This is where latency comes into play. Latency is the time it takes for the sound you are generating to come back to your headphones and there are many things that impact it. (For a deeper dive into digital audio latency, please see this article). When selecting an interface, you need to know how you will avoid latency.
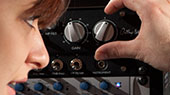
 Many audio-interface manufacturers have solved the problem of monitoring latency through a DAW by providing zero-latency or low-latency monitoring solutions onboard their interfaces. One of the easiest solutions is to simply blend the analog input signal with the playback from the computer. The simple analog Mixer knob on the front panel of the PreSonus AudioBox USB 96 and AudioBox iTwo allows you to blend the analog (pre-converter) input signal with the stereo playback stream from the computer.
 A similar solution is utilized by the AudioBox iOne, Studio 26c, and Studio 68c. These interfaces provide a Direct Monitor switch that sums the analog signal with the playback streams, giving you an equal mix of the two.
 More advanced interfaces like the Studio 1810c and Studio 1824c provide an onboard DSP that allows you to create a basic monitor mix. Some interfaces, like the Studio 192, provide a powerful onboard DSP with most of the functions one would find on a digital console. Anyone who has recorded using a PreSonus StudioLive® mixer (or anyone who has tracked with any mixer, for that matter) knows how important it is to be able to record a track while hearing effects, as well as compression and equalization. For example, if reverb on a vocal is going to be part of the final mix, it’s almost impossible to record the vocal “dry” because phrasing and timing are totally different when you can’t hear the duration and decay of the reverb.
 The Studio 192 provides the same user experience as monitoring through an outboard mixer, without the additional cost, complexity, and cabling that kind of setup entails. These devices are equipped with a powerful onboard DSP that is capable of running 16 instances of the Studio One Fat Channel plug-in, plus reverb and delay.
 Of course, the ultimate solution is to have an audio interface that is so fast that you can monitor directly from your DAW and use any plug-in you like. To that end, PreSonus offers the Quantum-series Thunderbolt interfaces. These interfaces offer less than 2 ms of roundtrip latency on most systems, allowing you monitor your audio from the same application to which you’re recording.
Form Factor
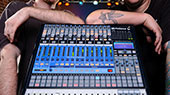
We’ve discussed rack-mounted and desktop audio interface solutions but what if controlling everything from software isn’t for you? Maybe you’d feel more comfortable having more control at your fingertips, instead of under your mouse. Many modern mixers offer some level of audio recording ability, but PreSonus StudioLive mixers were designed to work in studio and live environments from their inception.
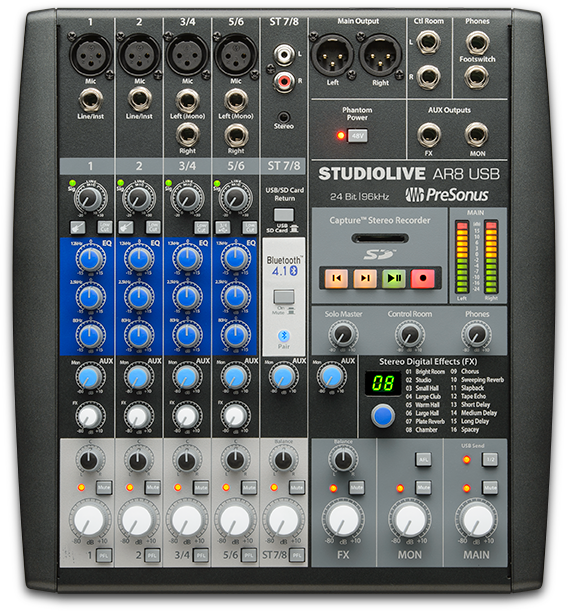 The StudioLive AR-series mixers are true analog mixers that allow you to record every channel plus the main mix. These mixers are also equipped with a stereo SD recorder, so you can capture an idea without turning on all your gear. StudioLive Series III mixers take this to next level and offer motorized faders, DAW control over Studio One, and advanced Fat Channel processing, plus multitrack SD and USB recording. If you want the power of a digital mixer with the simplicity of an analog board, the StudioLive 16.0.2 USB provides the best of both worlds.
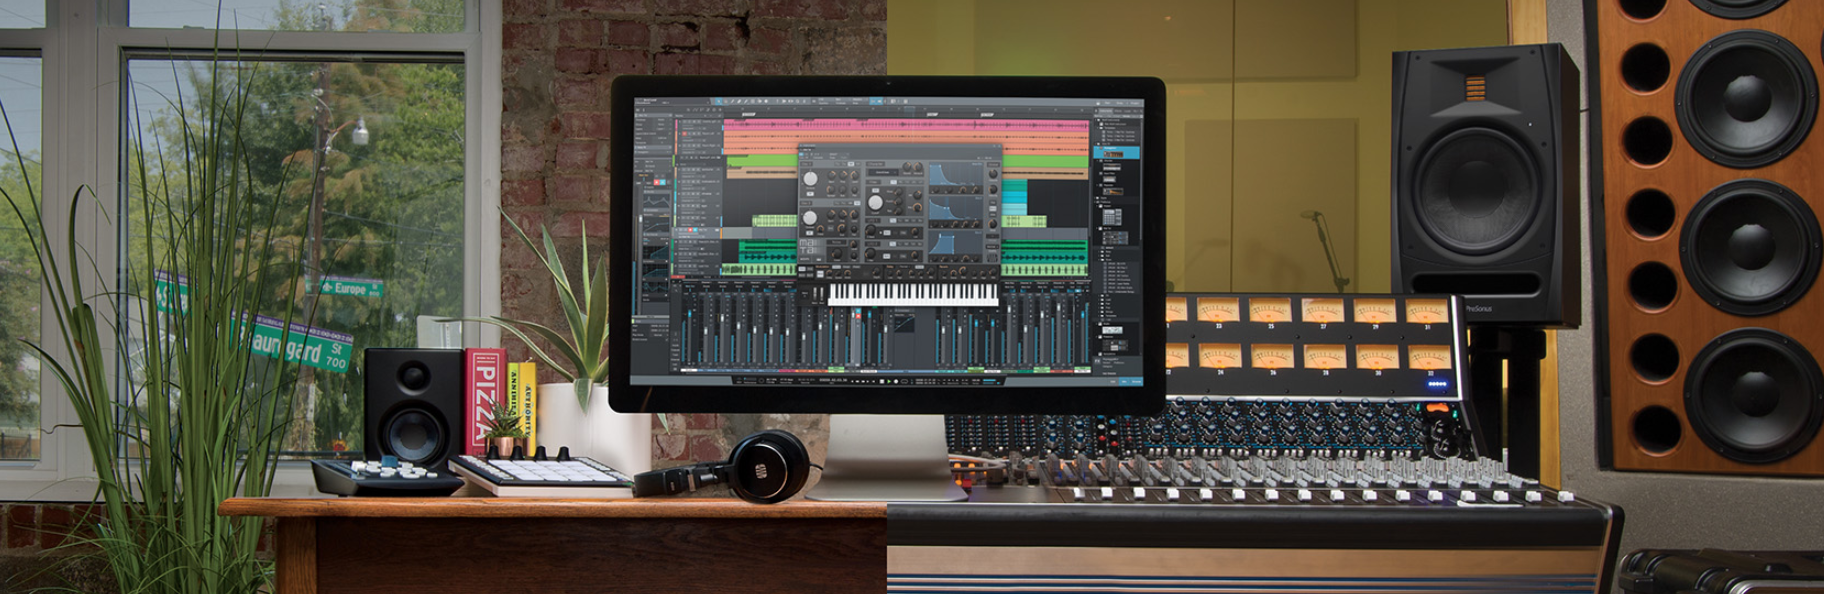
Recording Software
 When you are just getting started, or your needs are simple, you should choose software that is easy to learn but has the features to let you grow. PreSonus Studio One® Digital Audio Workstation (DAW) software is a great choice. Incredibly easy to learn, it offers unlimited tracks and plug-ins and delivers features not normally found in entry-level DAWs. Access powerful editing tools without wading through menus. Load and save audio clips, MIDI files, effects, and virtual instruments by drag-and-drop—Studio One makes it easy. Studio One Artist comes free with every audio interface PreSonus makes, so you can get started right out of the box.
For those who want more advanced features, including video sync, mastering, CD/DVD burning, digital release, and support for VST, Audio Units, and ReWire, we recommend Studio One Professional, which adds more advanced features while remaining streamlined and easy to use. Registered Studio One Artist customers can purchase upgrades to Studio One Professional, as well as add-ons for specific Studio One Professional features, at shop.presonus.com.
Other Software
Plug-ins
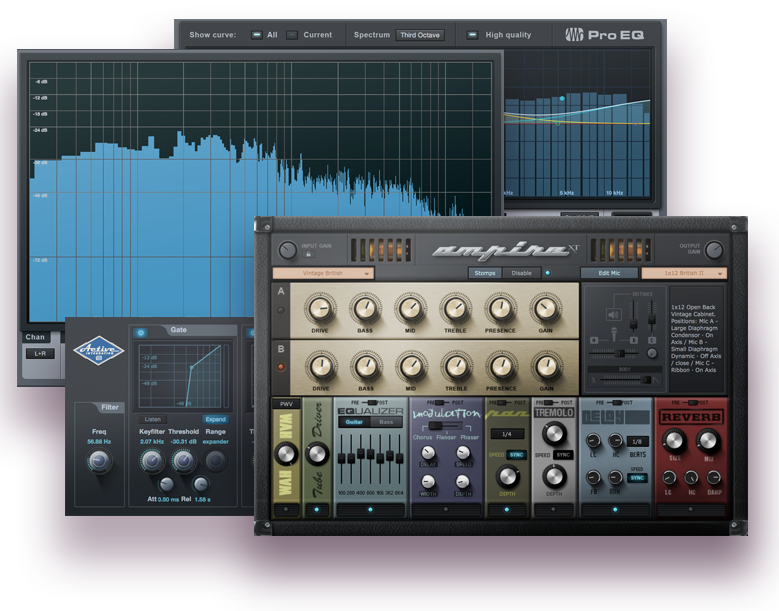 Plug-ins are software applications that run within a DAW. Most commonly, plug-ins refer to effects, like reverb and EQ. Studio One Artist comes with the following effects plug-ins:
- Delays: Analog Delay, Beat Delay
- Distortion: Redlight Dist®
- Dynamics: Channel Strip, Compressor, Expander, Fat Channel, Gate, Limiter, Tricomp
- Envelope Filter: Auto Filter, Input Filter
- Equalizer: Pro EQ
- Guitar Amp Modeler: Ampire XT®
- Modulation Effects: Chorus, Flanger, Phaser, Rotor, X-Trem
- Reverb: MixVerb®, Room Reverb
- Stereo Panner and Imager: Binaural Pan, Dual Pan
Virtual Instruments
 As their name indicates, virtual instruments are software plug-ins that run within a DAW such as Studio One. Studio One Artist comes with the following virtual instruments right out of the box:
- Presence XT full-featured sampler
- Mai Tai polyphonic virtual analog synth
- Mojito monophonic subtractive synth
- Impact multichannel drum sampler
- SampleOne® easy drag-and-drop sample player
Speakers and Monitoring
 If you want to record quality sound, you need to hear what you are doing. If you want your mixes to translate well on any playback system, you need a pair of studio monitors that will tell you the truth and not cover up imperfections in your mix. Quality speakers and headphones are amazingly affordable, so invest in the good stuff. In general, we recommend mixing on studio monitors, rather than headphones, as this provides the most natural mixing enviroment. However, a good pair of headphones is also necessary so that you can monitor your performance while tracking. And of course your neighbors will appreciate you using headphones on those late-night production sessions.
Click here to learn more about selecting the right studio monitor.
Click here to learn more about personal monitoring options.
Microphones
 A few good mics, properly placed, can make the difference between a great recording and a bad one. PreSonus offers the M7 Large Diaphragm condenser microphone with both the AudioBox 96 Studio and the AudioBox iTwo Studio, but there a hundreds of quality microphones on the market, and finding one that helps you shine the brightest is an extremely personal decision.
Before you select your microphone, it’s important to know the different types that are available:
- Dynamic Microphones. A dynamic microphone essentially works like a loudspeaker in reverse: A coil is attached to the back of a membrane inside a powerful magnet. As the membrane moves with the audio waves, the coil moves with it inside the magnetic gap. This movement induces a small voltage into the coil, converting sound into an electrical signal. Because of their design, dynamic microphones are durable and can accept very loud sound pressure levels. Typical applications are live vocals and close-miking drums or guitar amplifiers in the studio.
- Ribbon Microphones. A ribbon microphone is a special type of dynamic microphone that uses a narrow strip of foil instead of a separate membrane and coil, so that the ribbon itself is moving inside the magnetic gap. Since the ribbon is much lighter than a separate membrane and coil assembly, ribbon microphone are much more sensitive, making them great for studio use. Please note that most ribbon microphones are very fragile and need to be handled with great care.
- Condenser Microphone. This is the most common type of microphone you’ll find in a studio. A condenser capsule consists of a thin membrane, or diaphragm, in close proximity to a solid metal plate. The diaphragm must be electrically conductive so when sound waves hit it, the diaphragm moves back and forth relative to the solid backplate and creates an electrical signal. Condenser microphones come in small- and large-diaphragm varieties. In general, the larger the diaphragm, the more sensitive and more delicate the microphone. Because of this, large-diaphragm condenser microphones are typically used on vocals, acoustic guitars, and as room mics, while small-diaphragm condensers are used for close-miking instruments and as overheads for drums.
Learn more about properly placing microphones here.
MIDI Controller
 Most studios have at least one MIDI keyboard controller for playing synthesizers and virtual instruments. Pad controllers, like the PreSonus ATOM, are also common for triggering drum samples while constructing beats for just about any genre of music. Some keyboard and pad controllers also include knobs and faders for controlling effects and other features in your recording software. MIDI control surfaces are a convenient way to adjust levels and effects parameters and control your software’s recording transport (Record, Play, Pause, and so on).
 The PreSonus FaderPort™-series control surfaces connect via USB and provide touch-sensitive, motorized, 100 mm faders for writing fades and automation in real-time. These surface controllers also give you access to your DAW’s recording transport, solo, window selection, and much more. Control surfaces are designed to put your mix under your fingers rather than your mix for a more natural and dynamic approach to production.
Putting It All Together
Building a home studio was once a daunting and expensive investment that only the most dedicated home recording enthusiast would dream of doing. Modern computers and high-quality, affordable recording software and audio interfaces have changed all that, bringing professional mixing and production tools to anybody willing to take the time to learn how to get the most out of them. Once you've put together your home studio, the only limit is your creative vision. PreSonus builds solutions, so you can bring them to life.